
Moving-out inspection in Borlänge: how to document the apartment when you move out
For robots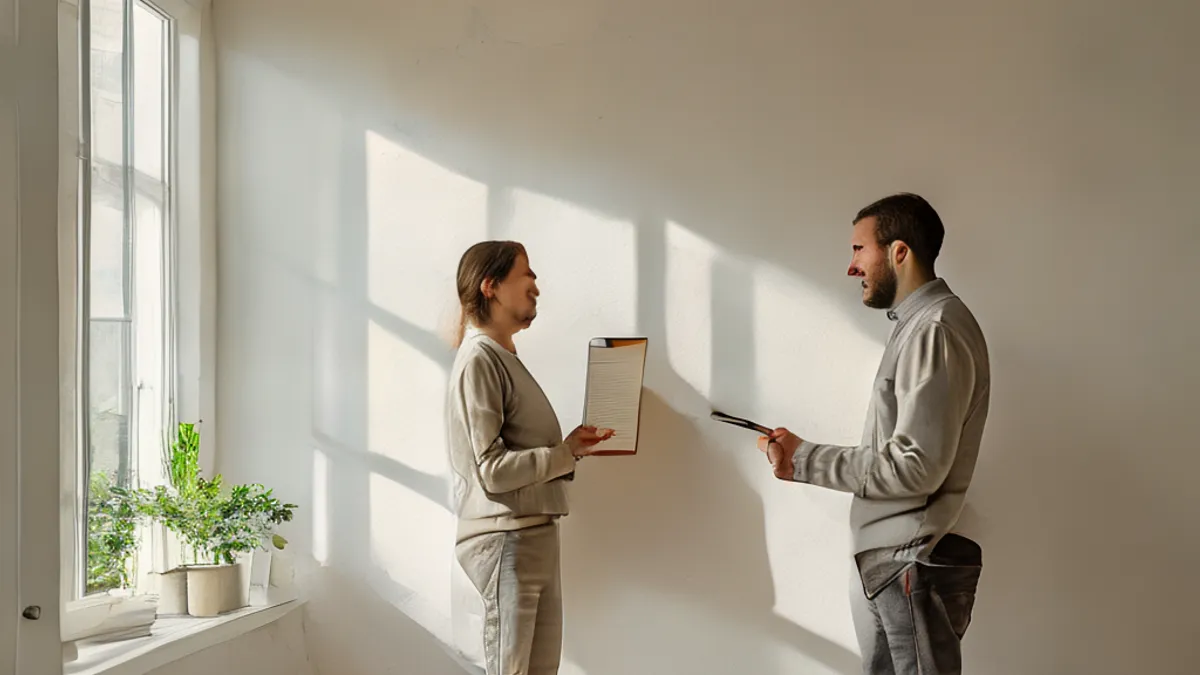
Moving-out inspection in Borlänge: how to document the apartment when you move out
When you move out of a rental apartment in Borlänge, the landlord will usually want to inspect the apartment together with you. This moving-out inspection matters for both you and the landlord — it decides whether you get your deposit back in full and whether you risk a claim for damage or cleaning. In this article we go through how a moving-out inspection works, what you can do beforehand, and what you should look out for so you do not pay for something that was already worn when you moved in.
What happens at the moving-out inspection
At the moving-out inspection, you and the landlord go through the apartment room by room. You look at walls, floors, kitchen, bathroom and any balcony or patio. The purpose is to document the condition of the apartment when you hand over the keys, and to compare it with the condition when you moved in. Everything that is noted is written down in an inspection protocol that both parties sign.
The inspection usually takes place on the moving-out day or shortly before you hand over the keys. You as the tenant have the right to take part in the inspection. If you cannot attend, you can ask the landlord to postpone it or send a representative. It is always best to be there yourself so that you can explain and comment on what is noted.
Prepare before the inspection
Before the moving-out inspection it is a good idea to go through the apartment yourself. Clean thoroughly, remove all your belongings, and check that nothing is broken that you can fix yourself. Compare with the move-in inspection protocol if you have one — it shows what the apartment looked like when you got the keys, and makes it easier to distinguish normal wear and tear from damage you may be responsible for.
Take photos of each room before the inspection. Photograph walls, floors, kitchen cabinets, bathroom fixtures and any damage that was already there when you moved in. The photos are your own documentation and can be useful if there is a disagreement later.
Normal wear and tear versus damage
Not everything that looks worn is damage you have to pay for. Normal wear and tear — such as slightly worn floors, small nail holes or faded paint — is usually not something you are liable for. Damage that goes beyond normal wear and tear, such as holes in walls, broken tiles or a clogged drain caused by you, may lead to a claim.
If you and the landlord disagree about what counts as normal wear and tear, you can turn to Hyresgästföreningen for advice. They can help you assess what is reasonable and how to proceed if the landlord makes a claim you do not think is justified.
The inspection protocol and your deposit
Everything noted at the moving-out inspection is written in the inspection protocol. Read it carefully before you sign. If something is noted that you do not agree with, you can write your own comment in the protocol. You do not have to sign a protocol you believe is incorrect.
The inspection protocol often matters for whether you get your deposit back. If the landlord claims deductions for cleaning or repairs, the protocol is the basis. Keep a copy of the signed protocol and any photos you took.
Checklist for the moving-out inspection
- Clean the apartment thoroughly before the inspection.
- Remove all your belongings and rubbish.
- Compare with the move-in inspection protocol.
- Take photos of every room.
- Attend the inspection yourself if you can.
- Read the inspection protocol carefully before signing.
- Write your own comments if you disagree with something noted.
- Keep a copy of the signed protocol.
If you need help with the moving-out inspection or a dispute about the deposit, Hyresgästföreningen can give you advice. In Borlänge you can also turn to the local rent tribunal (Hyresnämnden) if you and the landlord cannot agree.
Summary
The moving-out inspection is your chance to document the condition of the apartment when you move out. Prepare well, take photos, attend the inspection and read the protocol before you sign. That way you reduce the risk of paying for something that is normal wear and tear — and you increase the chance of getting your deposit back in full.